As a dedicated supplier of Truck Metal Seals, I've witnessed firsthand the critical role these components play in the seamless operation of transmission systems. Installing a truck metal seal in a transmission system is a task that demands precision, knowledge, and the right tools. In this blog, I'll walk you through the step-by-step process of installing a truck metal seal in a transmission system, sharing insights gained from years of experience in the industry.
Understanding the Importance of Truck Metal Seals
Before we dive into the installation process, it's essential to understand why truck metal seals are so crucial in a transmission system. These seals are designed to prevent fluid leakage, maintain proper lubrication, and protect the internal components of the transmission from contaminants. A properly installed metal seal ensures the longevity and efficiency of the transmission, reducing the risk of costly repairs and downtime.
Gathering the Necessary Tools and Materials
To install a truck metal seal in a transmission system, you'll need the following tools and materials:
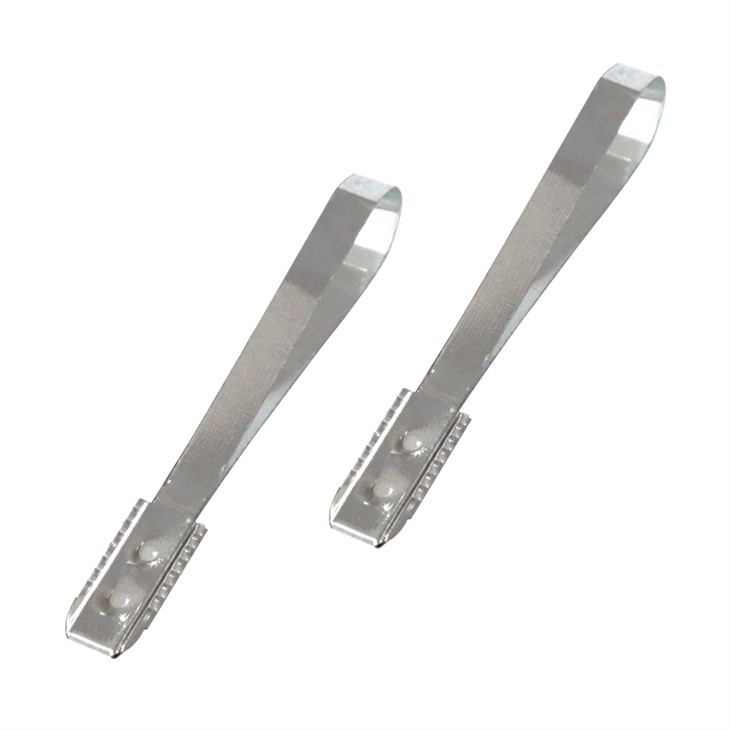
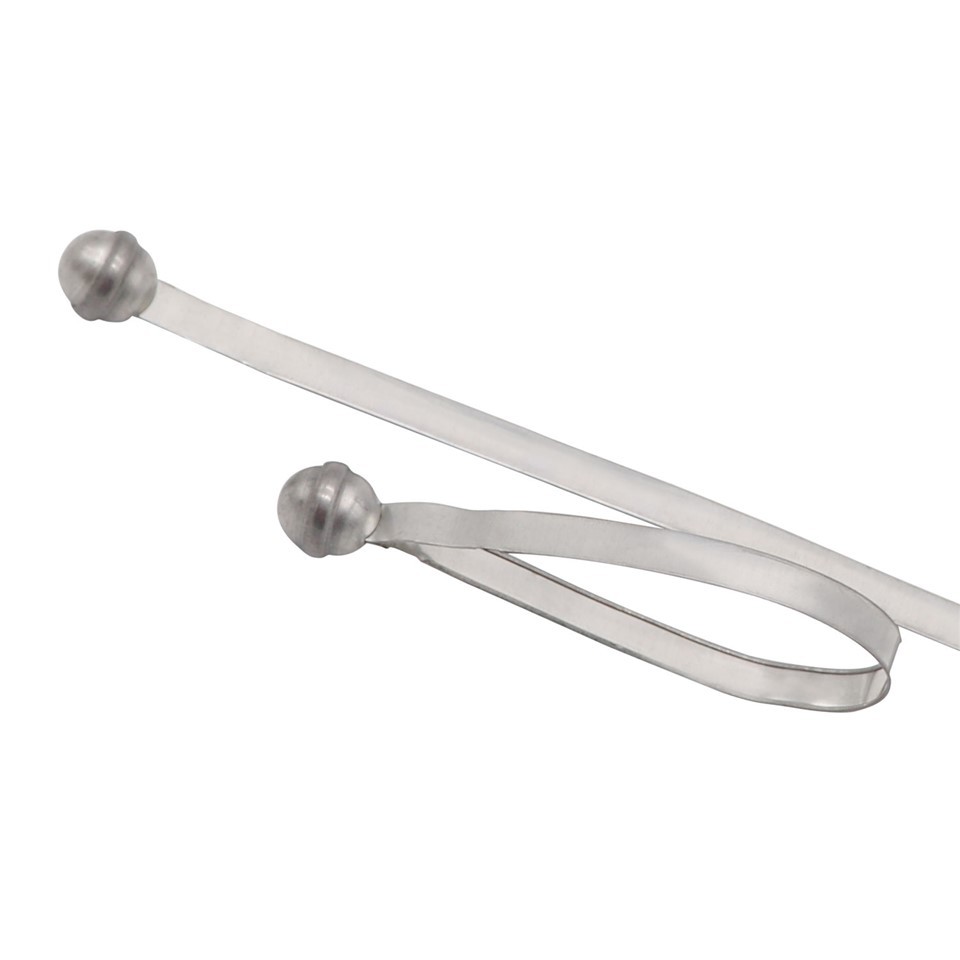
- Truck Metal Seal: Ensure you have the correct seal for your specific transmission model. As a supplier, I can provide a wide range of Metal Trailer Seals, Round Head Metal Strap Seal, and Metal Container Seals to meet your needs.
- Seal Installer Tool: This tool is specifically designed to install seals evenly and without damaging them.
- Cleaning Solvent: Use a high-quality cleaning solvent to clean the seal housing and the area around it.
- Lubricant: Apply a thin layer of lubricant to the seal lip to ease installation and prevent damage.
- Safety Equipment: Wear gloves and safety glasses to protect yourself during the installation process.
Preparing the Transmission System
Before installing the new seal, it's crucial to prepare the transmission system properly. Follow these steps:
- Drain the Transmission Fluid: Locate the drain plug on the transmission and drain the fluid into a suitable container. Make sure to dispose of the old fluid properly.
- Remove the Old Seal: Use a seal puller or a flat - head screwdriver to carefully remove the old seal from the seal housing. Be careful not to damage the housing or other components during this process.
- Clean the Seal Housing: Use a cleaning solvent and a clean rag to thoroughly clean the seal housing. Remove any dirt, debris, or old seal material. Ensure that the housing is completely dry before proceeding.
- Inspect the Seal Housing: Check the seal housing for any signs of damage, such as scratches, dents, or corrosion. If the housing is damaged, it may need to be repaired or replaced before installing the new seal.
Installing the New Truck Metal Seal
Once the transmission system is prepared, it's time to install the new truck metal seal. Follow these steps:
- Apply Lubricant: Apply a thin layer of lubricant to the seal lip. This will make it easier to install the seal and prevent damage to the lip during installation.
- Position the Seal: Carefully place the new seal in the seal housing, ensuring that it is centered and aligned correctly. Make sure the seal is facing the right direction; most seals have an arrow or a marking indicating the correct orientation.
- Use the Seal Installer Tool: Place the seal installer tool over the seal and gently tap it with a hammer or mallet until the seal is fully seated in the housing. Apply even pressure around the circumference of the seal to ensure a proper fit.
- Check the Installation: Once the seal is installed, check to make sure it is seated evenly and flush with the housing. There should be no gaps or unevenness around the seal.
Reassembling the Transmission System
After installing the new seal, it's time to reassemble the transmission system. Follow these steps:
- Replace the Transmission Pan: If you removed the transmission pan to access the seal, clean it thoroughly and reinstall it. Make sure to replace the pan gasket if necessary.
- Refill the Transmission Fluid: Use a funnel to refill the transmission with the appropriate type and amount of fluid. Refer to your vehicle's owner's manual for the correct fluid specifications.
- Check for Leaks: Start the vehicle and let it run for a few minutes. Check for any signs of fluid leakage around the seal. If you notice any leaks, stop the vehicle immediately and inspect the installation.
Tips for a Successful Installation
- Take Your Time: Installing a truck metal seal requires patience and precision. Rushing through the process can lead to mistakes and potential problems.
- Follow the Manufacturer's Instructions: Always refer to the manufacturer's instructions for the specific seal you are installing. Different seals may have different installation requirements.
- Use Quality Tools and Materials: Invest in high - quality tools and materials to ensure a proper installation. Using cheap or inferior products can lead to premature seal failure.
- Seek Professional Help if Needed: If you are unsure about any step of the installation process, or if you encounter any problems, don't hesitate to seek the help of a professional mechanic.
Why Choose Our Truck Metal Seals
As a supplier of truck metal seals, we take pride in offering high - quality products that meet the highest industry standards. Our seals are made from premium materials and are designed to provide long - lasting performance and reliability. Whether you need Metal Trailer Seals, Round Head Metal Strap Seal, or Metal Container Seals, we have the right solution for your needs.
If you're in the market for truck metal seals or have any questions about the installation process, we'd love to hear from you. Our team of experts is ready to assist you with your purchasing decisions and provide you with the best products and services. Contact us today to start a discussion about your requirements and explore how our truck metal seals can enhance the performance and reliability of your transmission systems.
References
- Automotive Transmission Service Manuals
- Industry Standards for Truck Metal Seals
- Manufacturer's Guides for Seal Installation