Hey there! As a supplier of Plastic Meter Seals, I often get asked about how to clean these little guys. Plastic meter seals are used in all sorts of applications, like on gas meters, electric meters, and more. Keeping them clean is not only about making them look good but also ensuring they work properly and maintain their tamper - evident features.
Why Clean Plastic Meter Seals?
First off, let's talk about why cleaning plastic meter seals is important. Over time, these seals can get dirty from dust, dirt, oil, and other environmental contaminants. If they're not cleaned, this build - up can affect their visibility. You see, one of the key functions of a meter seal is to be easily inspected for signs of tampering. A dirty seal can make it hard to tell if someone has tried to mess with the meter.
Also, dirt and grime can potentially damage the plastic over time. Chemicals in the dirt might react with the plastic, causing it to become brittle or discolored. And if you're using Gas Meter Tamper Seal, you definitely want to keep it in top - notch condition to ensure the safety and integrity of the gas meter.
What You'll Need
Before we get into the actual cleaning process, let's gather the necessary supplies. You don't need a whole bunch of fancy stuff. Here's what I recommend:
- Mild dish soap: This is great because it's gentle on the plastic and can break down most types of dirt and grease.
- Soft cloth or sponge: You want something that won't scratch the plastic. A microfiber cloth is a really good choice.
- Warm water: Not too hot, just warm enough to help the soap work better.
- A small bucket or container: To mix the soapy water.
The Cleaning Process
Now, let's get down to business. Here's a step - by - step guide on how to clean plastic meter seals:
Step 1: Prepare the Cleaning Solution
Fill your small bucket or container with warm water. Add a small amount of mild dish soap to the water and stir it gently until it creates a soapy solution. You don't need a whole lot of soap; just enough to make the water sudsy.
Step 2: Remove the Seal (if possible)
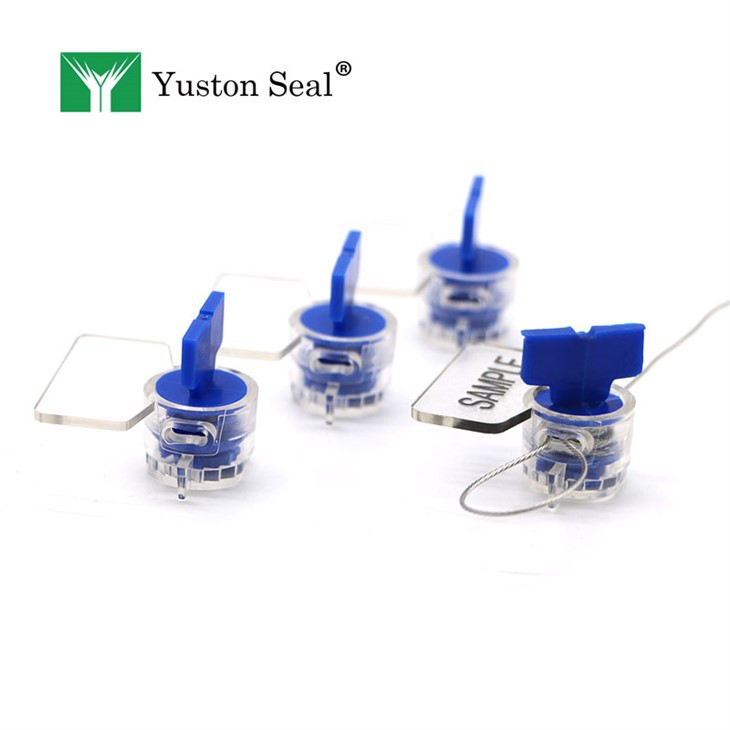
If the plastic meter seal can be safely removed from the meter, do so. This will make it easier to clean all sides of the seal. But be careful! If it's a Lead Seal or a seal that's part of a security - sensitive system, make sure you follow the proper procedures for removal. Some seals are designed to break if removed incorrectly, so you don't want to accidentally damage it.
Step 3: Soak the Seal
Once you've removed the seal (or if it's still on the meter), dip your soft cloth or sponge into the soapy water. Wring it out a bit so it's not dripping wet. Gently wipe the seal, starting from one end and working your way around. Pay special attention to any areas that look particularly dirty. If there are stubborn stains or grime, you can let the cloth sit on the area for a few seconds to let the soap work its magic.
Step 4: Rinse the Seal
After you've wiped the entire seal, rinse it thoroughly with clean water. You can either hold it under a running tap or use a clean cloth dampened with plain water to wipe away the soapy residue. Make sure all the soap is removed because any leftover soap can attract more dirt over time.
Step 5: Dry the Seal
Use a dry, clean cloth to pat the seal dry. Make sure there's no moisture left on it, especially if it's going to be exposed to cold temperatures. Moisture can cause the plastic to crack or become damaged.
Step 6: Re - install the Seal (if removed)
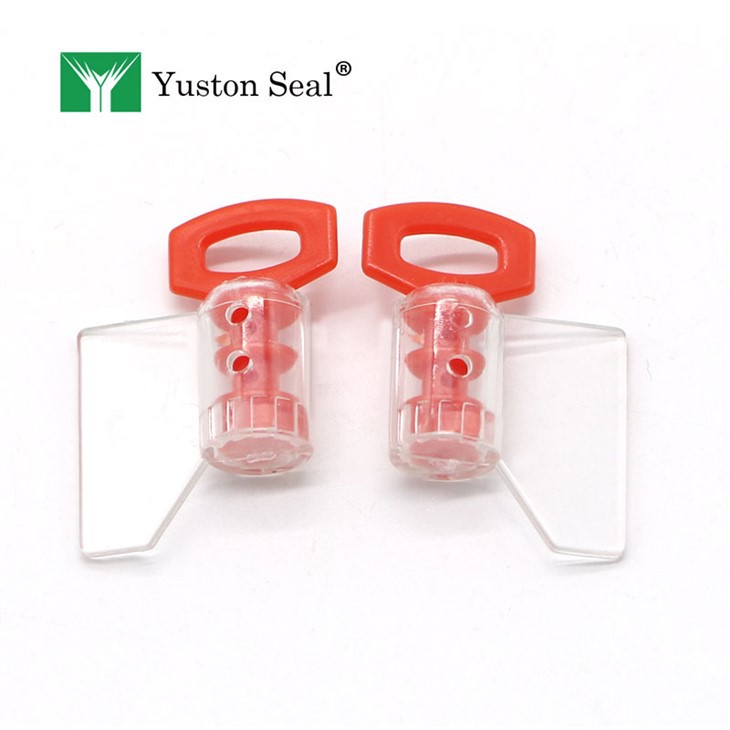
If you removed the seal earlier, carefully re - install it on the meter. Make sure it's properly seated and that all the locking mechanisms are engaged correctly. If it's an Electric Twist Meter Seal, follow the specific instructions for twisting it back onto the meter.
Special Considerations
- Disinfection: In some cases, you might want to disinfect the plastic meter seal, especially if it's in a high - traffic area or a place where there's a risk of contamination. You can use a mild disinfectant solution, but make sure it's safe for plastic. Always test it on a small, inconspicuous area of the seal first to make sure it doesn't cause any damage.
- Avoid Abrasive Cleaners: Never use abrasive cleaners, scouring pads, or rough brushes on the plastic meter seal. These can scratch the surface, making it more difficult to detect tampering and also potentially weakening the plastic.
Benefits of Regular Cleaning
Regularly cleaning your plastic meter seals has several benefits. It extends the lifespan of the seal, which means you won't have to replace it as often. It also helps maintain the seal's tamper - evident features, which is crucial for security. And let's face it, a clean seal just looks better! It gives a professional and well - maintained appearance to the meters.
Conclusion
Cleaning plastic meter seals is a simple yet important task. By following the steps I've outlined above, you can keep your seals in great condition. Whether you're using Gas Meter Tamper Seal, Lead Seal, or Electric Twist Meter Seal, proper cleaning ensures they function as intended.
If you're in the market for high - quality plastic meter seals or have any questions about our products, don't hesitate to reach out. We're here to help you find the best solutions for your metering needs.
References
- General knowledge about plastic materials and cleaning techniques.
- Industry best practices for maintaining meter seals.